Hardwood floors are very trendy in Dubai nowadays, not only for residential buildings but also for commercial settings. These floors not only look luxurious but also increase property value but then comes the struggle of installing this sturdy floor type. Installing hardwood floors means you need proper tools and a step-by-step guide to prevent flaws.
This article contains every important step you need to follow for the installation of wooden flooring. At Flooring Installation Dubai, we specialize in high-quality wooden flooring solutions, which typically come in plank format, offering both real solid wood and engineered wood options. Let’s discuss its installation step by step.
Installation of Hardwood Floors | A Step-By-Step Guide
Before installing this flooring, collect all the essential tools that you’ll be needing during the process, and the list includes:
Hardwood flooring planks
Underlayment or moisture barrier
Flooring nailer or stapler (for nail-down)
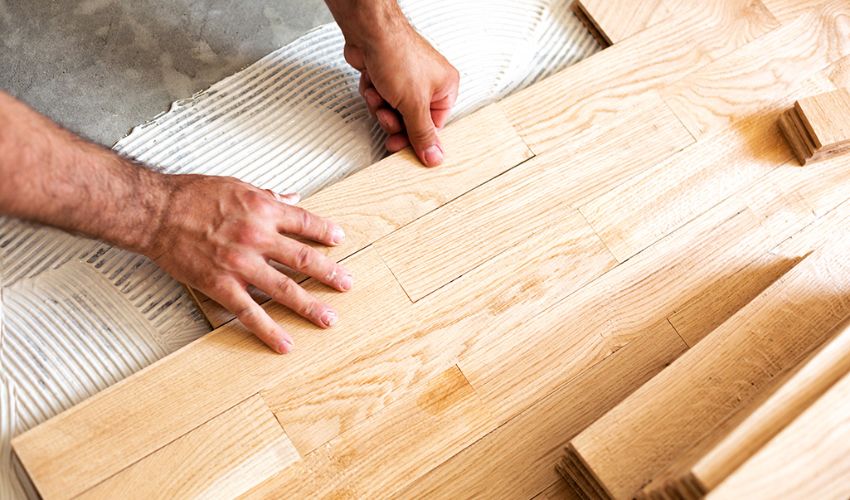
Adhesive (for glue-down method)
Measuring tape
Chalk line
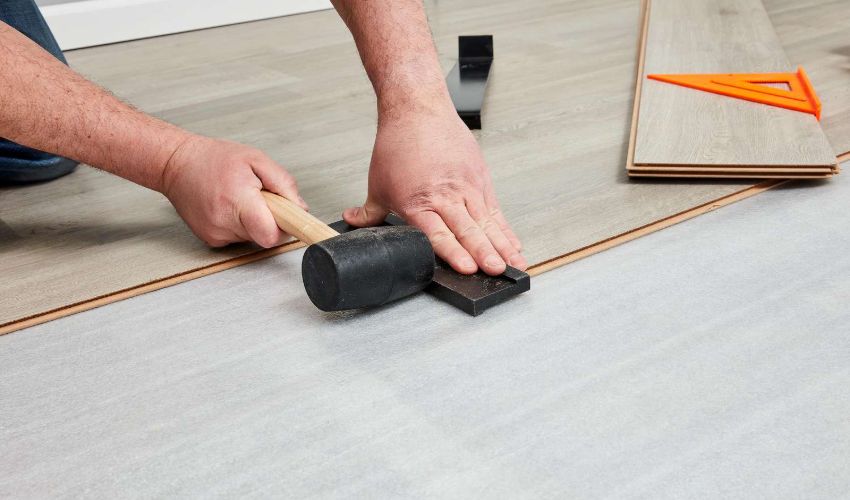
Rubber mallet
Level
Circular saw
Pry bar
Spacers
Safety gear (goggles, gloves)
After gathering the necessary tools, let’s proceed with the procedure.
Let The Wood Get Adjusted
Wood takes time to adjust to the room’s temperature because it usually expands after exposure to humidity. Unbox all the planks and keep them in the room (where you want to install them) for about 2 days to ensure that we can proceed with the installation.
Clean & Smooth Subfloor
Only a clean and smooth surface gives you the best flooring installation experience and outcome. Clean the existing floor to remove all dirt and debris. If the subfloor is levelled, well and good; otherwise, use a floor levelling compound and fill all the grooves.
Underlayment is The Base
Hardwood floors always require an underlayment to provide moisture resistance and added comfort benefits. You can use foam or padded underlayment and install it properly using recommended adhesives.
Layout Planning for The Floor
You can accurately install these hardwood laminate floors only by making effective plans. Measure the room to determine the number of planks and the type of layout required. Use a chalk line to mark the starting point after taking proper measurements. Note: Please leave expansion gaps around the edges when marking the floor, as the wood will continue to expand after installation.
Install The First Row Like a Pro
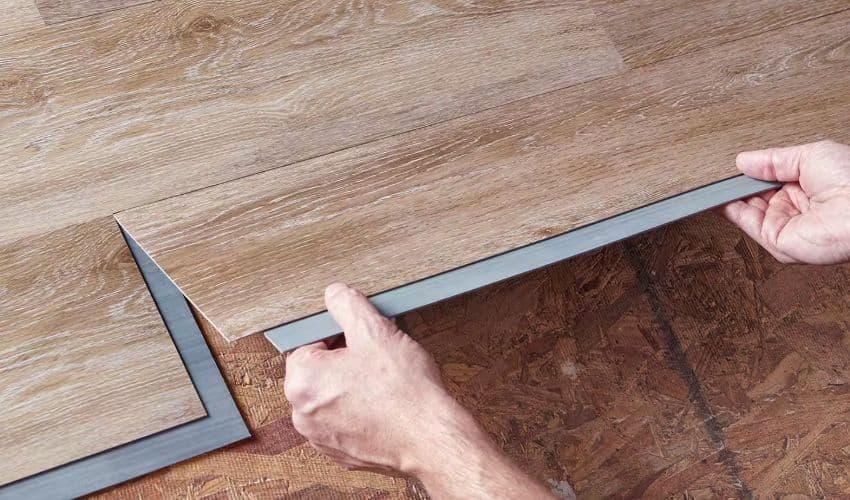
When installing the first row of tongue-and-groove hardwood planks, you need to remove the extended edges from the tongue part by cutting them off to ensure the first row of planks aligns seamlessly with the wall. For an even alignment, place a spacer between the wall and the floor. Spacer also helps maintain an expansion gap, which is very important for wooden planks.
Secure this row using nails, adhesives, or a click-lock installation system (which one your planks allow).
Join The Remaining Planks Now

To join other planks, please follow a staging technique that involves keeping a 6-inch shift between the plank and its adjacent plank to ensure the floor’s stability. Keep installing planks and gently tap them with a rubber mallet or a tapping block to ensure the floor is evenly installed and also that no damage has occurred. If you are following a nailing method, please use floor nails and check their stability by pushing them to ensure they are secure. If you are using a glue-down method, never forget to remove the excess glue from the floor, as it will ruin the final flooring appearance.
Final Row Installation Technique
While installing the final row of your wood floor planks, use a pry bar to fix the planks in their place. The pry bar allows the planks to fit precisely, with no need to touch them. It also helps you determine a specific expansion gap and align the planks accordingly (you can also place a spacer there). Additionally, you may remove these spacers after the complete floor is installed. It is said that to leave them for about 15-30 minutes and then remove them to ensure they have done their work.
Final Touches Are Important!
Cover the expansion gaps with strips or boards and attach the mouldings to the wall (never to the floor, as the wall is stable, while your hardwood floor may expand or contract based on climate changes).
Clean The Hardwood Flooring & See It Yourself
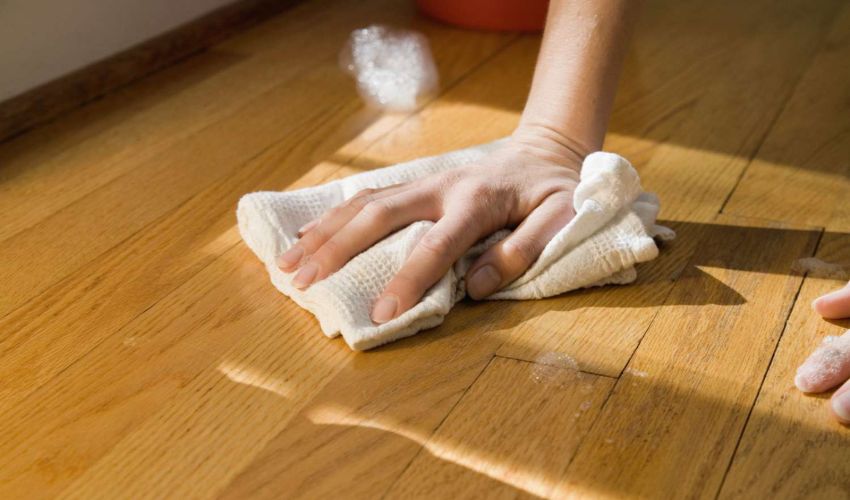
First and foremost, it is recommended that you avoid foot traffic for about a day after the floor installation to allow for proper floor adjustment and stability, especially if you have used the glue-down method. Clean your floor now, utilizing a microfiber cloth (recommended) to remove dirt and excessive particles. Inspect every plank to ensure it is firmly attached and requires no additional work. See, you’ve installed the entire floor by yourself without creating any chaos.
Note: Always use goggles during the process to prevent eye infections.
Concluding the Article
Wooden floors can never be outdated because they not only look luxurious but also offer multiple other benefits. But installing wood planks is a real hustle. To save you from extra work, we’ve broken down the entire installation process into easy steps in this article. Please collect the required tools and then start the process. Also, don’t skip any step if you want a flawless floor finish. Best of luck with your project!


